How To Create Product Videos With AI : The "Hardcore" Guide to Creating Clean Product Videos
Tired of AI warping your products? Discover the "hardcore" workflow to create clean, hallucination-free product videos. We compare manual hacks vs. specialized tools like Temvideo for true object consistency.

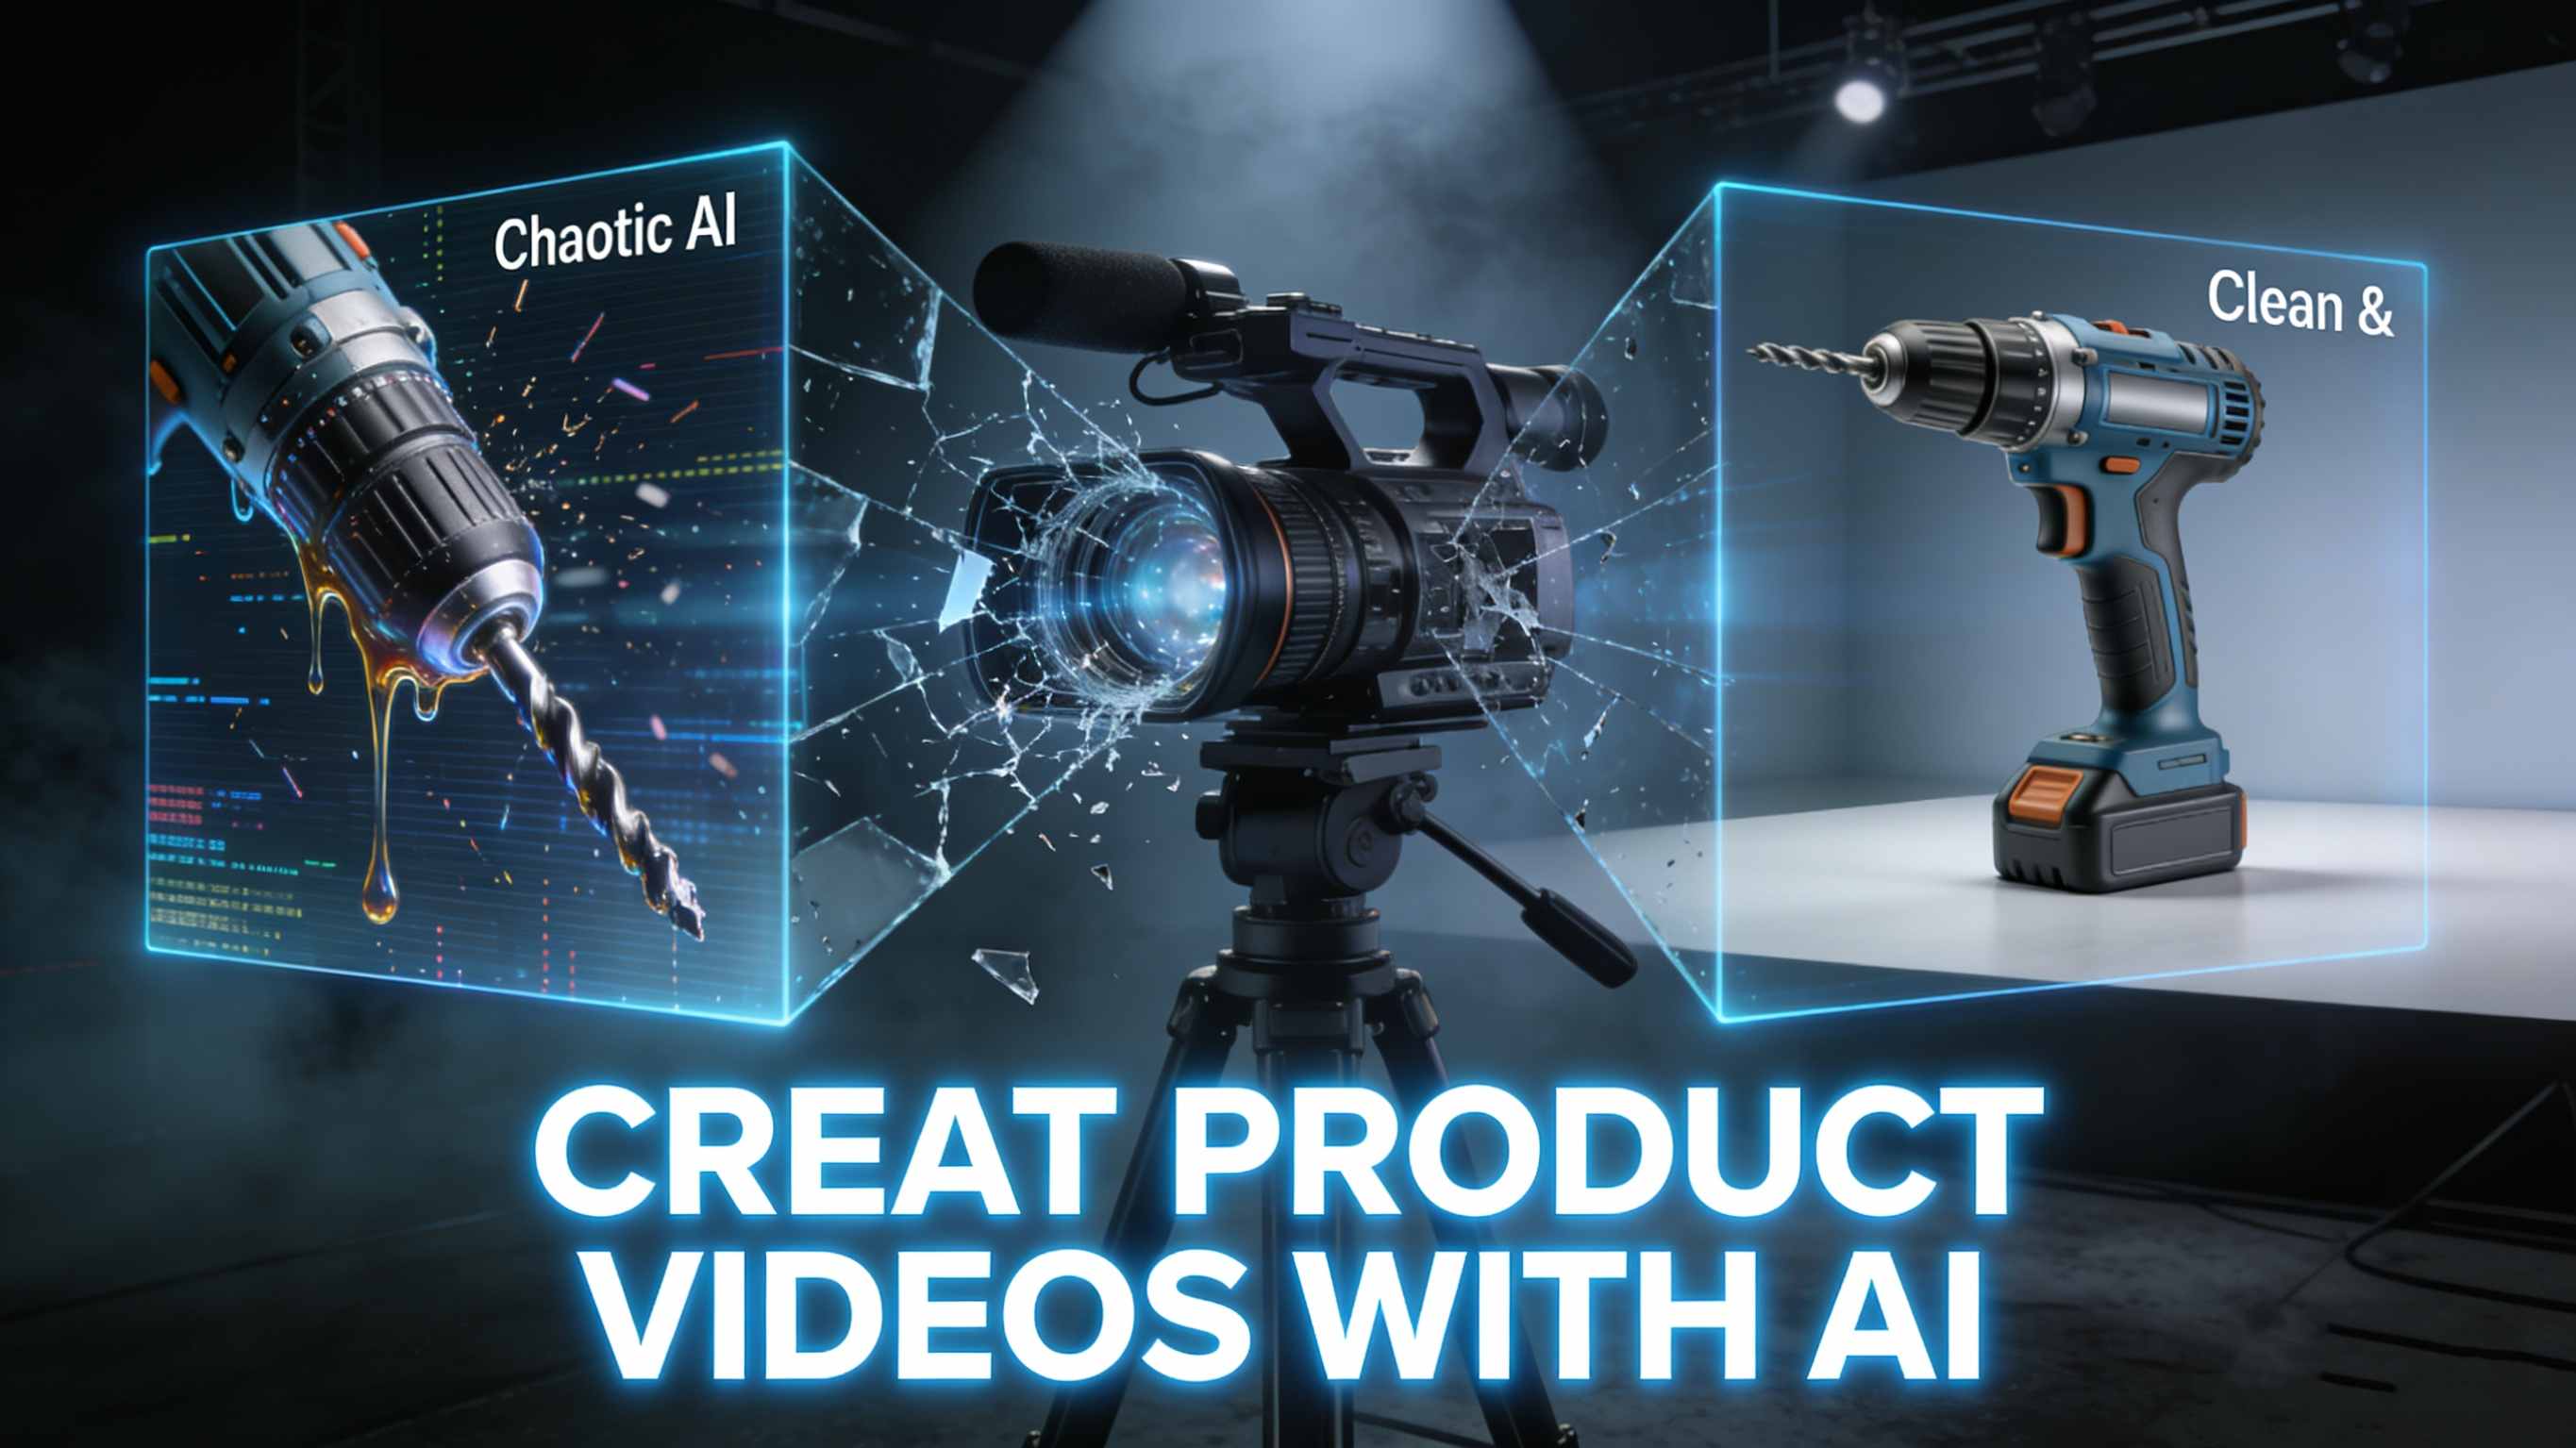
It sounds exaggerated, doesn't it? We currently have AI models capable of generating astronauts riding horses in space, but the moment you ask for a simple, slow "push-in" shot of a drill on a table, the AI loses its mind. It warps the object, creates weird artifacts, and even inexplicably hallucinates a cat in the background.
I saw this discussion on Reddit, and the absurdity is real. The problem is that most generative AI models (like Sora or Veo) are trained to be "Creative Artists," optimized for high drama and big dynamic movements. But e-commerce doesn't need drama; it needs a "Reliable Photographer." You need high fidelity, not wild hallucinations.
If you are tired of your product turning into a blob, here is a battle-tested workflow to get that professional, "boring but real" look.
Core Strategy: Separate "Texture" from "Motion"
If you put "camera zooms in smoothly" in your prompt, the AI tries to reconstruct your product's pixels in every frame to simulate distance. This almost always leads to "morphing" (e.g., the drill looks like a hair dryer halfway through).
To fix this, we need to address temporal inconsistency. Leading research on ArXiv (the repository for AI research) highlights that maintaining the identity of an object across frames is still the 'Holy Grail' of video diffusion.
Method 1: The "Manual Hack" (Free but Time-Consuming)
This is the method suggested by the Reddit community. If you have zero budget but plenty of time, this works well.
Generate a "Static" Video:
Use Midjourney (for the image) + Runway/Luma (to animate ONLY the background/lighting).
Prompt Trick: "Static shot, tripod locked, subtle dust floating, lighting shift."
Goal: Keep the product frozen. Only let the atmosphere move.
The "Ken Burns" Effect (Image Push/Pull):
Drag that clip into a standard video editor (like CapCut or Premiere).
Set a keyframe at the start (Scale 100%).
Set a keyframe at the end (Scale 110%).
The Downside: This often looks "flat." It looks like a 2D image being zoomed in, lacking that premium "parallax" effect (where foreground and background move at different speeds).
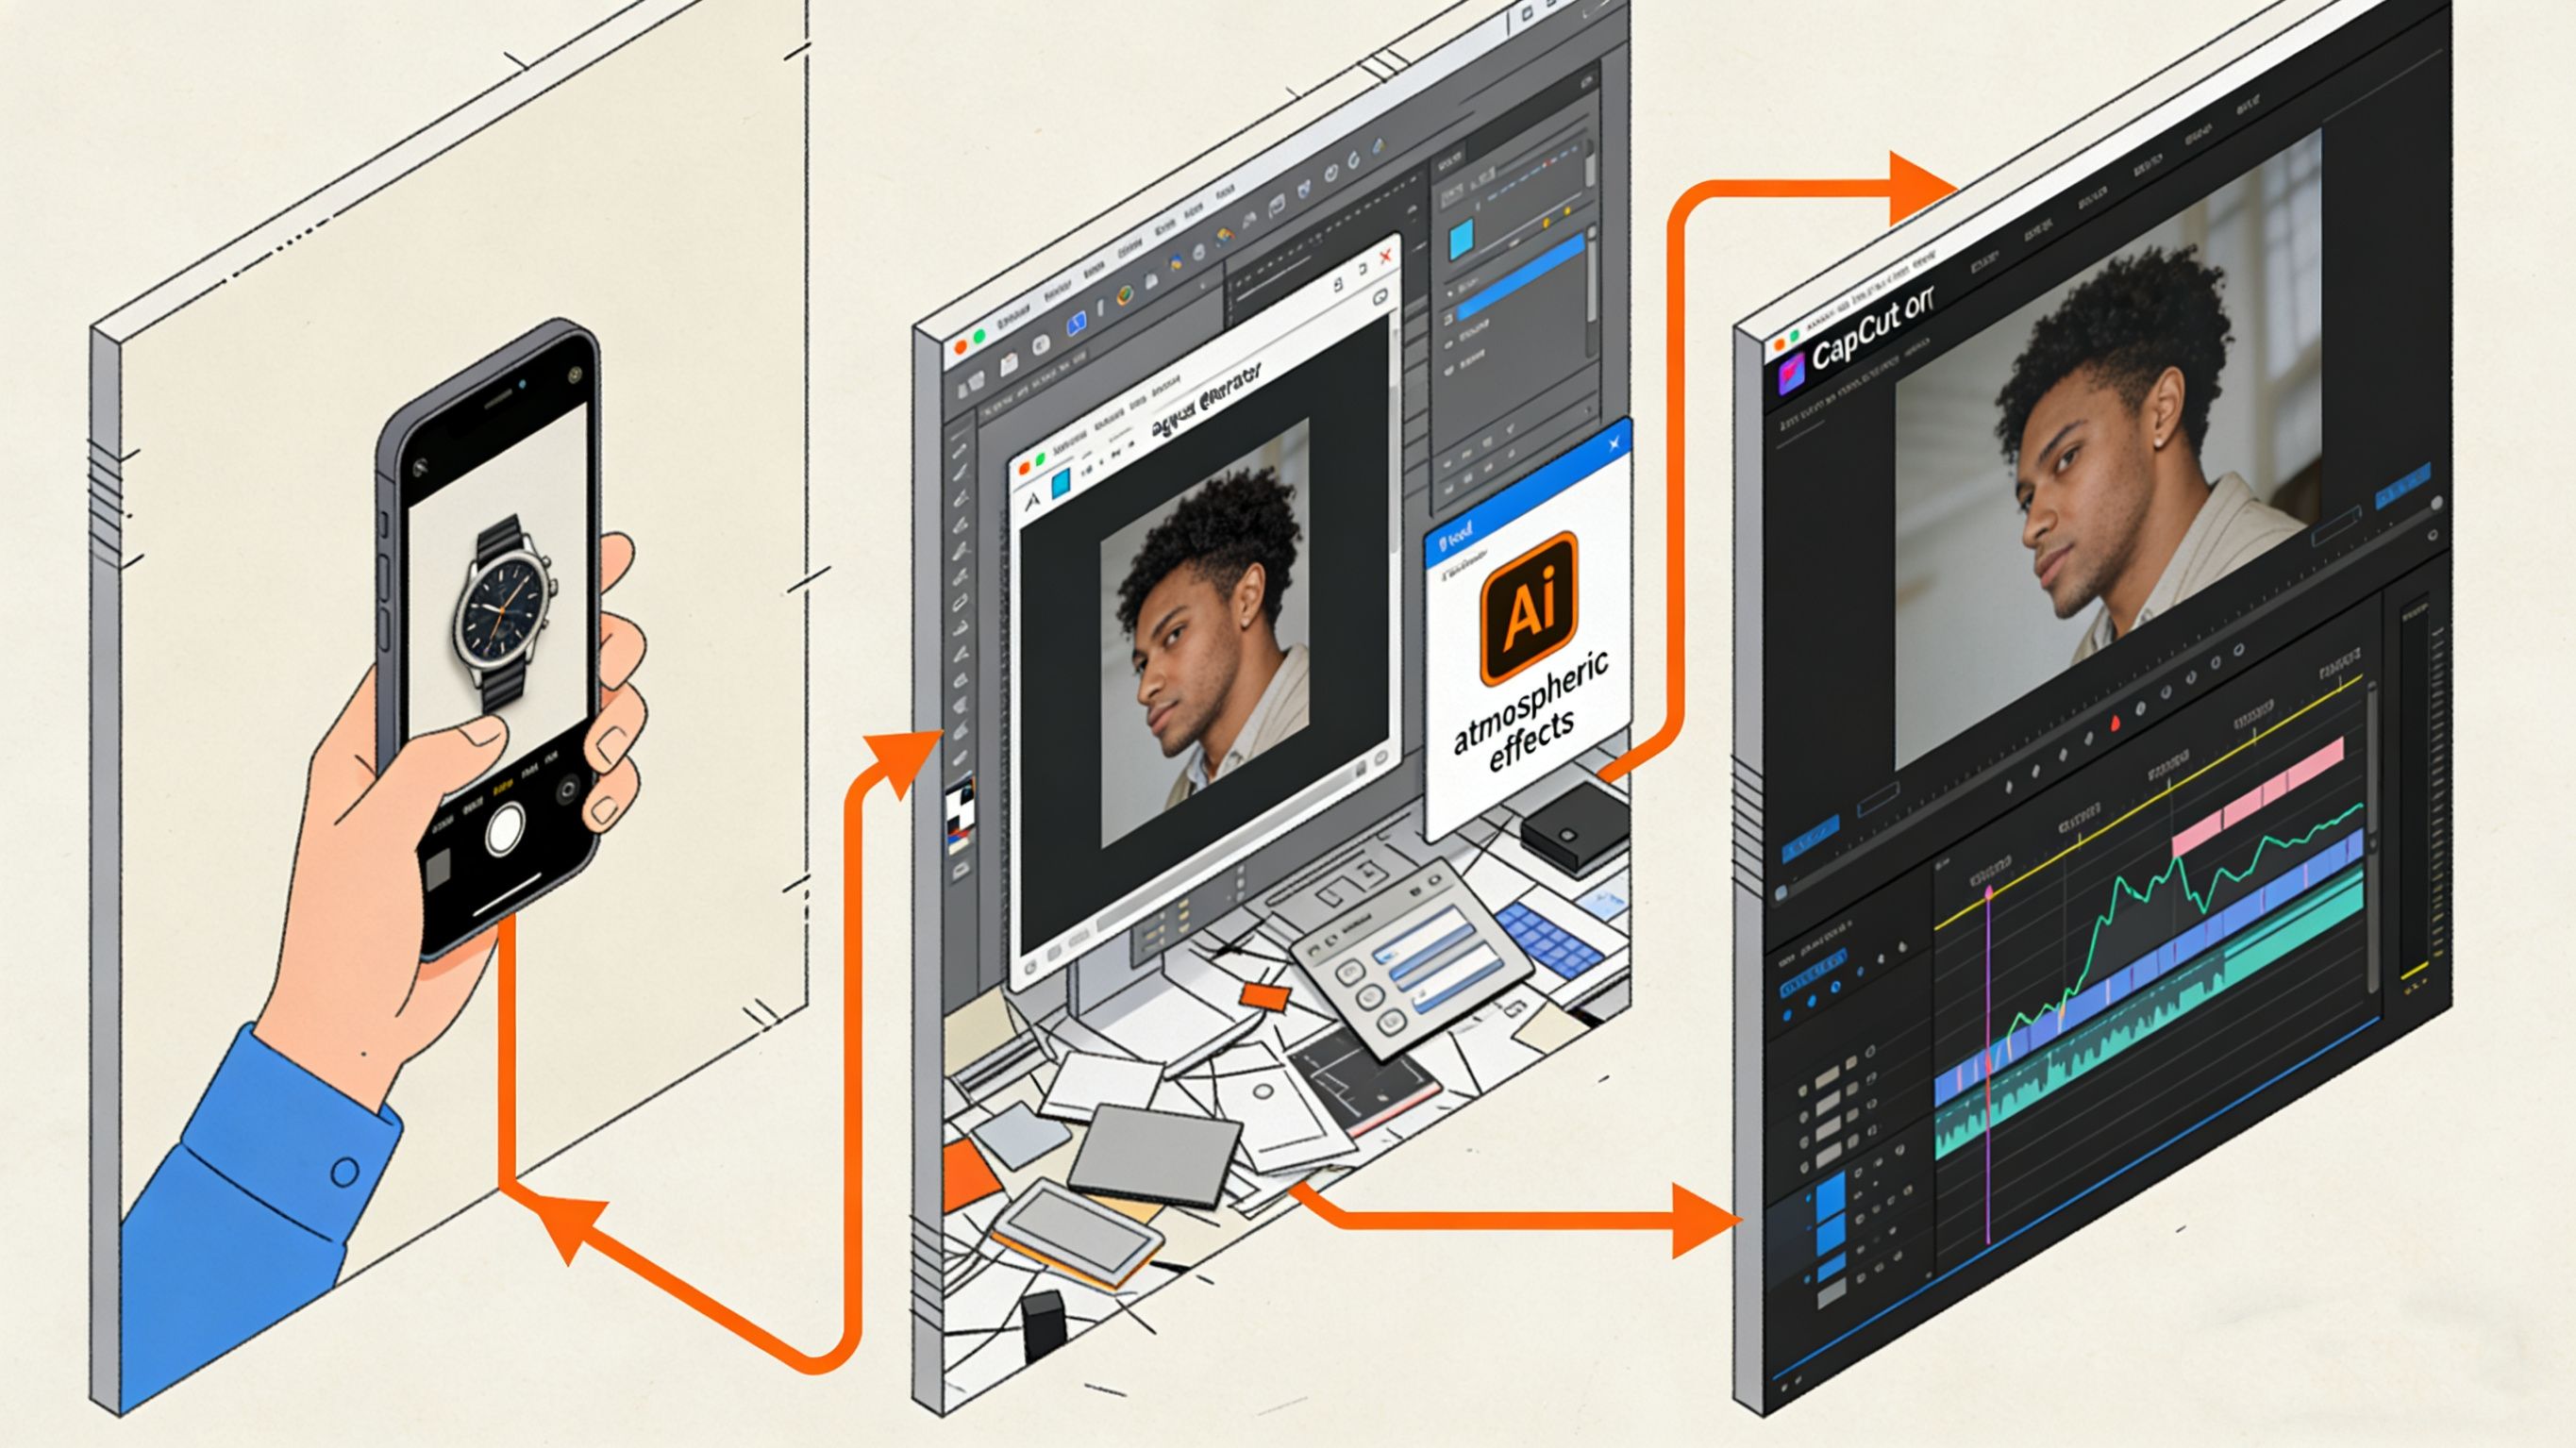
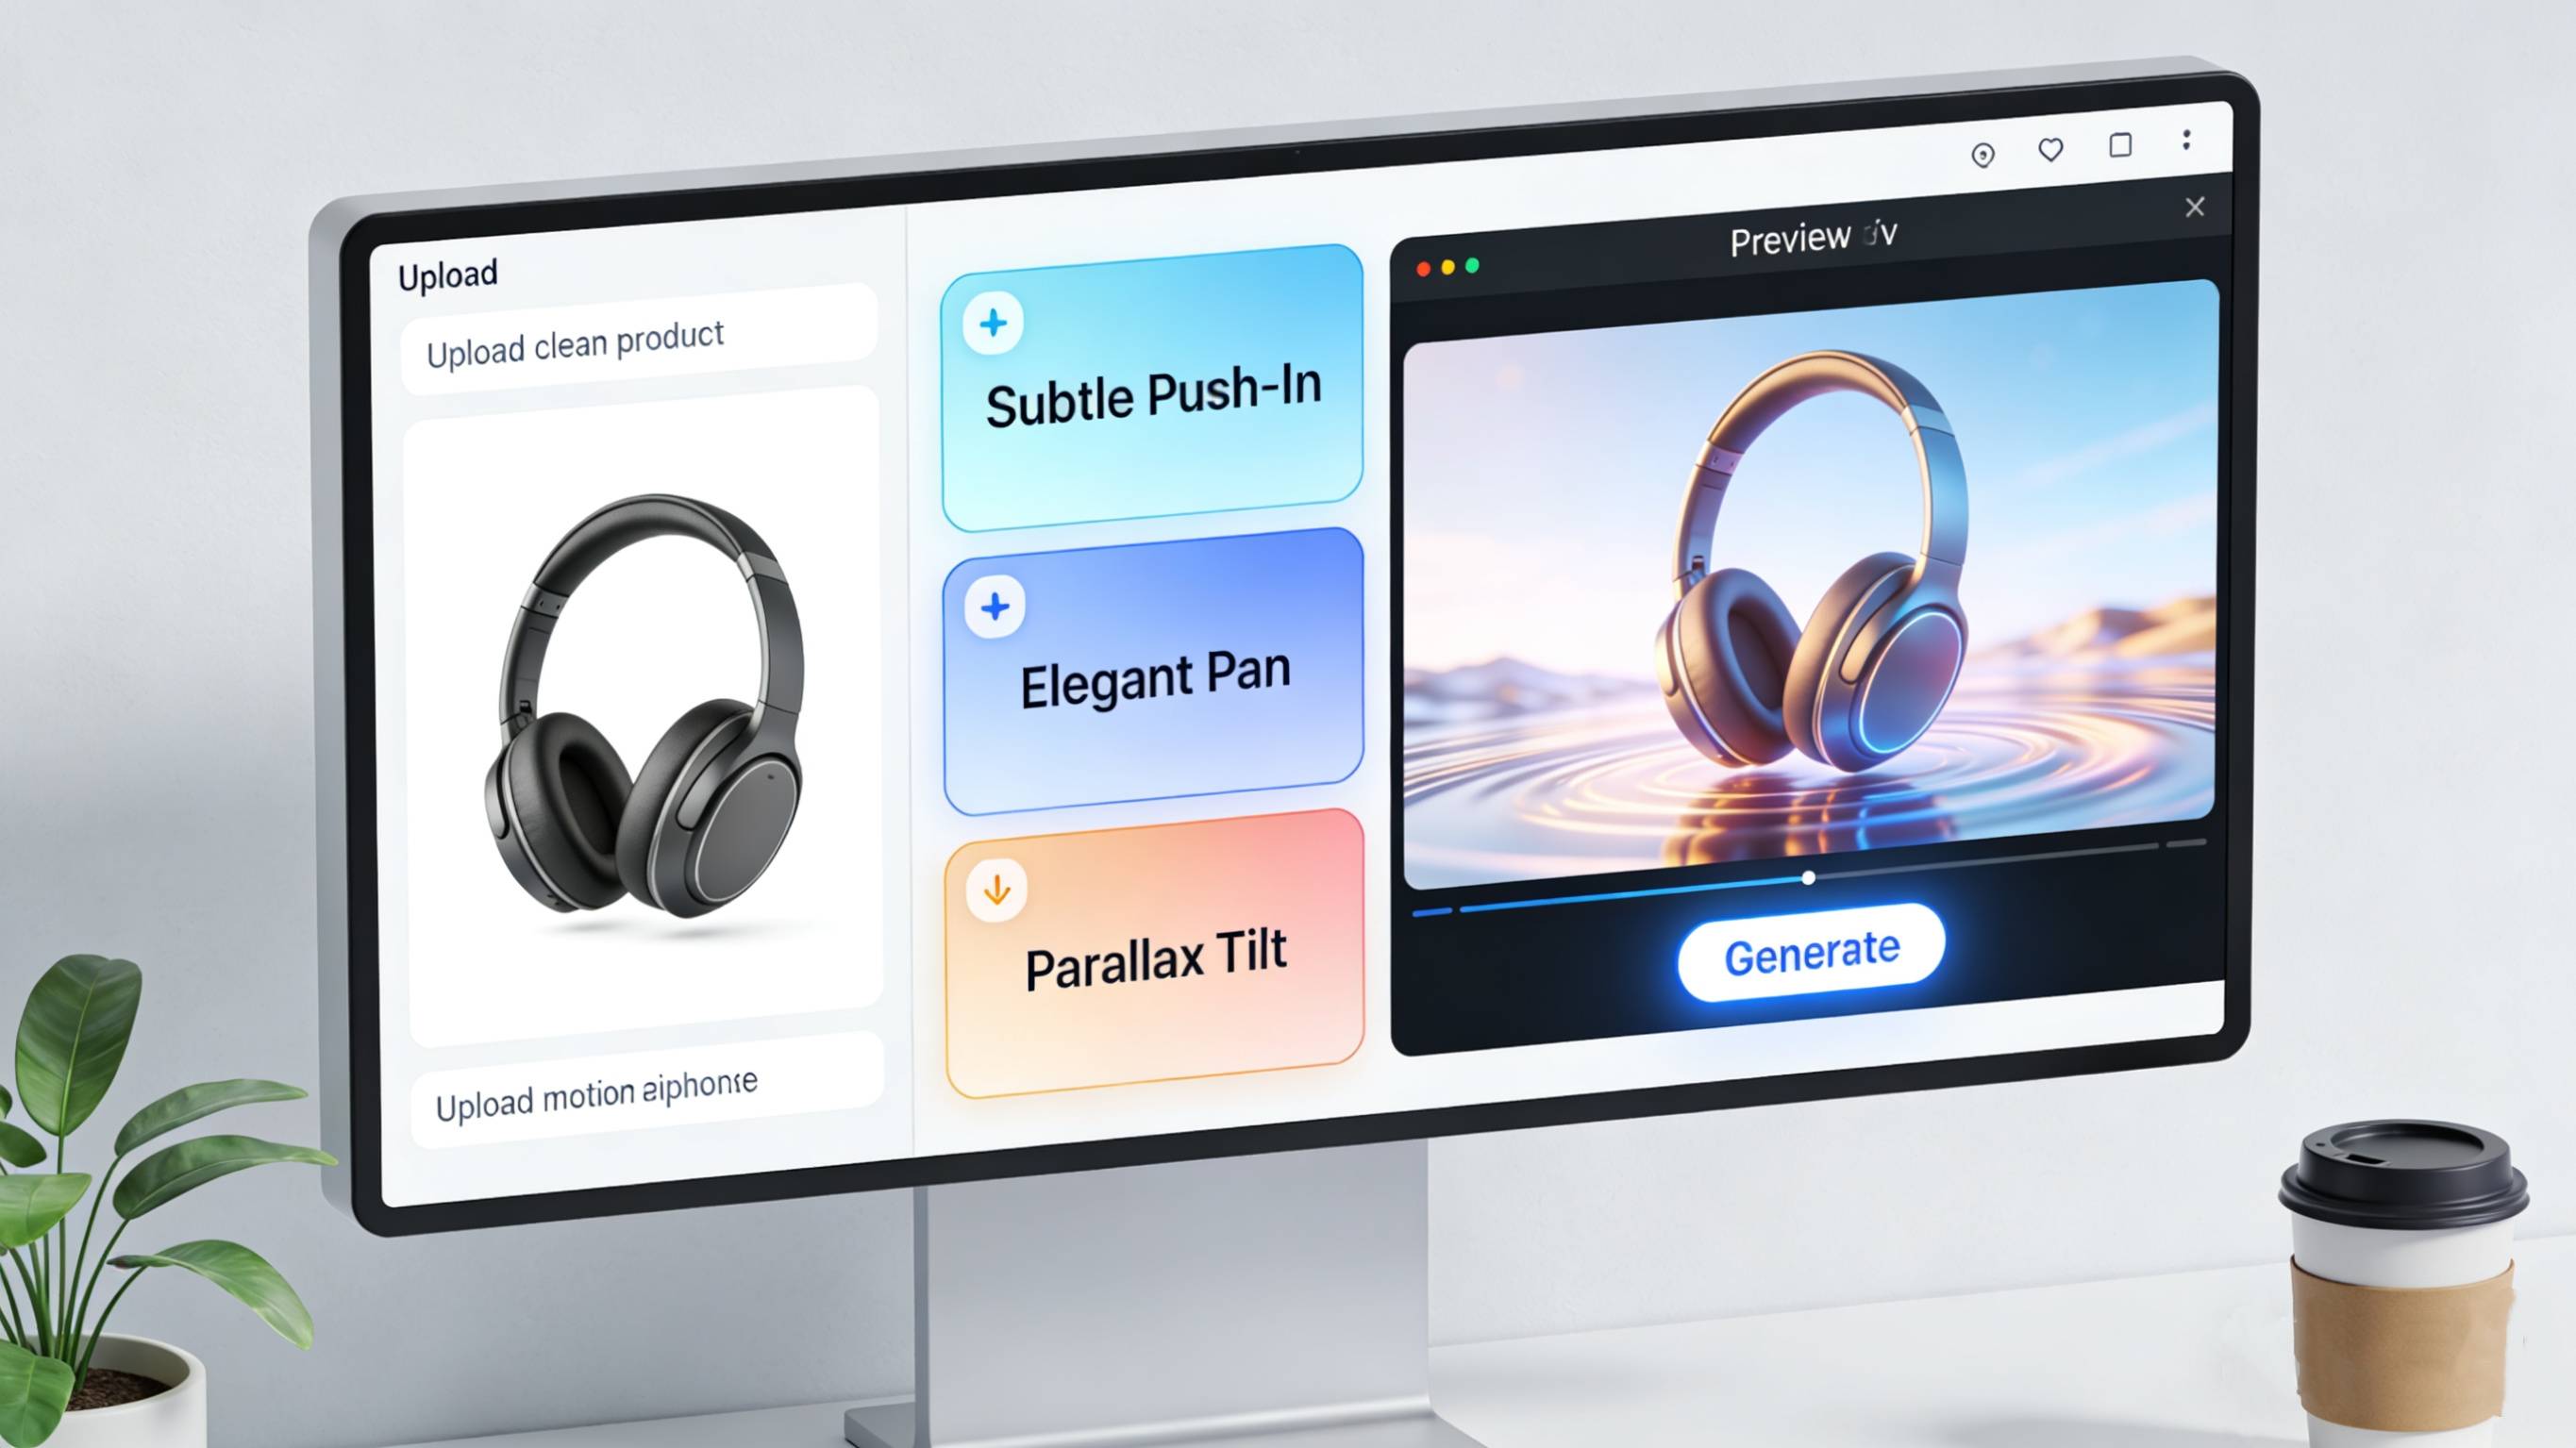
Method 2: The "Smart Tool" Workflow (Using Temvideo)
If you want movement that looks 3D (parallax) without the risk of AI destroying product details, this is where specialized tools like Temvideo come in.
You don't need to rack your brains writing prompts or manually keyframe 2D images; instead, use a tool designed specifically for Object Consistency.
Why this bridges the gap:
No Hallucinations: Unlike generic video generators, TemVideo locks your product's pixel integrity. It won't fabricate new buttons or warp the shape.
True Depth: It adds camera movement (Zoom, Pan, Tilt) that respects the image's depth information. The product feels like it's sitting in a real 3D space, rather than just a flat photo getting bigger.
Workflow: You upload the photo, select a preset like "Subtle Push-In," and it handles the rest.
It effectively automates the "Manual Hack" but adds the depth data that manual editing lacks.
Pro Tip: Perfecting the Input
Regardless of which method you use (Manual or Temvideo), your result is only as good as your source image.
Lighting is Permanent: AI video struggles to perfectly "relight" without altering the product. Ensure your source photo already has the exact atmospheric lighting you want.
Resolution Matters: Always upscale your image before processing. Using a 4K upscaler on your product photo before adding motion ensures textures (leather, metal, plastic) remain crisp during the zoom.
FAQ
Q: Why do models like Sora or Runway warp my product?
A: They use "Frame-to-Frame" generation. They are guessing what the product looks like from a slightly closer angle every split second. Often, they guess wrong. Specialized workflows (like Method 2) move the "camera" virtually rather than regenerating the object, preventing warping.
Q: Can I do this for free?
A: Method 1 (The Manual Hack) is very cheap. You can use free daily credits on Luma for the atmosphere and free CapCut for the zoom. Method 2 (Temvideo) usually requires a subscription or credits but delivers faster, more professional results.
Q: Is this suitable for 360-degree rotations?
A: Be careful here. Simple "Image-to-Video" cannot see the back of your product. If you ask for a 360-degree rotation, almost all AI will hallucinate (guess) the back. For standard video ads, stick to "Frontal Push-ins" or "Pans"—they convert just as well and look much more realistic.
Q: How do I stop the background from looking weird?
A: Keep your prompt simple. If using Method 1, add "Depth of field" or "Blurred background" to your prompt. A blurry background hides AI imperfections much better than a sharp, complex background.
Tags
Ready to get started?
Join TemVideo and start creating videos with thousands of creators
Start for Free